
It’s the day before Thanksgiving and we are all running around like mad people trying to check off items on our long to-do lists. The Pre-Thanksgiving tasks have begun. No amount of mental planning could have prepared us for all of this. Although our lists are nicely organized we cannot help but still feel overwhelmed and anxious. It does not matter how much time we spend mapping everything out, to the last detail, we somehow still do not feel super confident about all that goes into this big event. Everything that has yet to be done. From all that needs to be prepped, cleaned and cooked, to the table setting and anticipation of our guests’ needs. We have a lot to do in a short amount of time. Of course there are some of us who live for these moments. Big gatherings and celebrations where we can cook ridiculous amounts of food in a short period of time and not feel an ounce of pressure. Unfortunately, not all of us our lucky to be that way. For the most part, we fall into that percentage of people where preparing a big Thanksgiving feast just sounds completely daunting to us. We are nervous and worried that we will not be able to get everything finished on time. All the worst possible scenarios run through our heads, and we shudder at the thought that we might have forgotten something, so we run through our lists about twenty more times within the hour. Then the worst does happen. You are in the middle of cooking something and you realize that you are out of a certain ingredient, or that you completely forgot to get an item at the grocery store. That occurs even to the best of us. There is so much on our minds, it seems only natural that we will forget something, or that we thought we had a certain ingredient but come to find we ran out or were mistaken.
When those moments of panic arise, it is best to just relax. Nothing will get solved by panicking and getting upset. We must run through our options in our minds. Do without the ingredient? Use a substitution? Or go to the market for a quick trip and brave the madness with the rest of the forgetters and the last minute shoppers? Perhaps the ingredient is not that important and you can just omit it. I have done that before. In which case, just laugh it off and continue cooking without it. If the ingredient is important but you do not feel like putting your shoes and coat on, hopping into your car, driving to the market, braving the craziness of the last minute shoppers and the long lines at checkout, well then perhaps a substitution will work for you. Surely there is something in your pantry or fridge that will give your recipe the same taste or effect without going out of your way. To help you on your substitutional journey, here is a handy dandy holiday substitution resource put together by my friend Russell over at Chasing Delicious. It is an “informational potluck” with tips and tricks submitted by a variety of food bloggers and cookbook authors, including yours truly. And last but not least, if you cannot skip the ingredient all together or even find an adequate substitution for it, well then your last resort is to put on your brave face and go to the market. Go with your goal in mind. No fuss no muss. Walk in there like you own the place. Shoot straight for the aisle, grab your ingredient, and go pay. If you convince another brave soul to go with you, have them wait in line while you retrieve your item, that way you can get out even faster.
With all the planning and work we put into this holiday, or any holiday for that matter, we all fail to realize one thing. The holidays are not about impressing people, or busting our chops to try and make the “perfect” everything. Life is not perfect. Sometimes things do not go as planned and we need to accept that that is okay. Thanksgiving should not be stressful or overwhelming. Although at times, it seems inevitable when planning a big meal for family and friends. We want to impress and make a great feast that everyone will enjoy, but it is important to stop, take a step back, and breathe deeply. This day is about being around loved ones and enjoying yourself. It is about being thankful for everything around you. It is a day for appreciating those people that we do not get to see often and for giving thanks for the opportunities that have arisen and been given to us.
You can spend the entire day stressed, cooking all sorts of complicated dishes that will surely impress your guests. However, that does not sound fun at all. Or you can also just enjoy the day, stress-free and having fun. Laughing and playing games with your family and friends. Make easy, yet delicious, dishes that you have cooked countless times before. That way, you know it will definitely come out right. Aim for easy recipes. Dessert should be just as carefree and fast to whip up. One that does not take precious fridge space. For we all know how hard it is to arrange everything in the icebox, on this day especially. A cookie of some sort seems to fit the bill. Not just an ordinary cookie, no that will not suffice, but a seasonal cookie. One that brings together all those classic Thanksgiving dessert flavors into one tiny package.
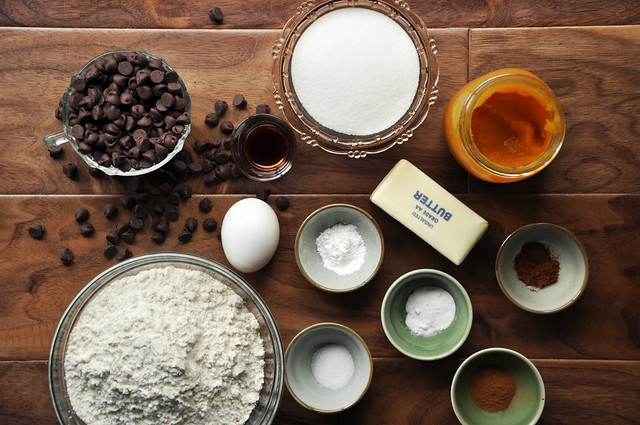
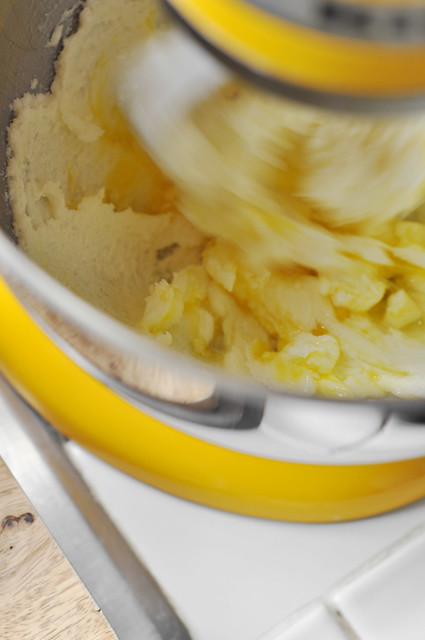
The first thing we need, just like pretty much every other cookie recipe, is butter.
Softened butter.
And by softened I mean butter left out at room temperature until it has softened.
People have told me before that their cookies didn’t come out right, and when I ask them what they did, to try and figure it out, their first step was to nuke the butter in the microwave to soften it. Bad idea. You do not want melted butter, you want softened butter.
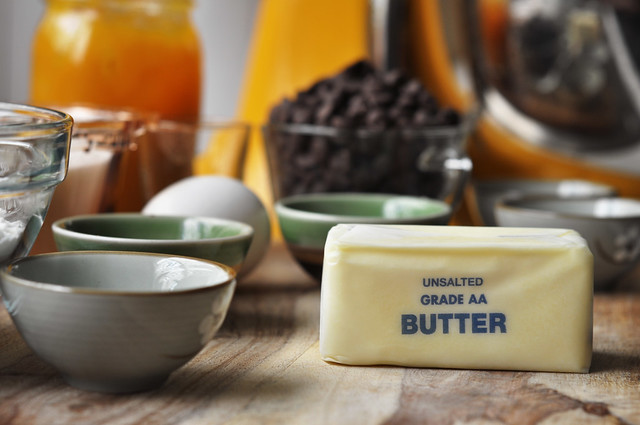
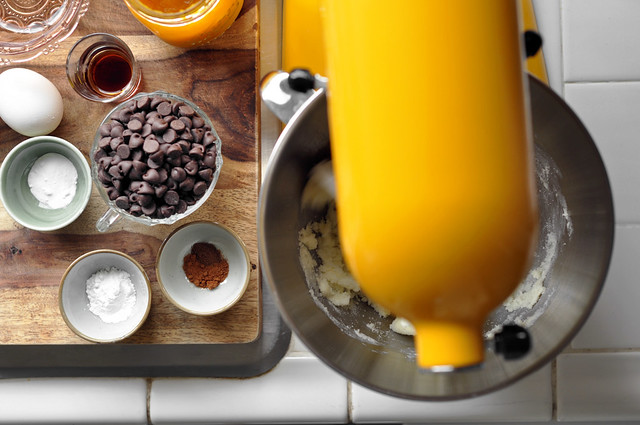
Drop the butter into the bowl of a stand mixer fitted with the paddle attachment.
You can do this by hand of course, but it’s easier with a mixer.
And since this is supposed to be an easy and fast recipe for the holidays, why not make it easier on yourself?
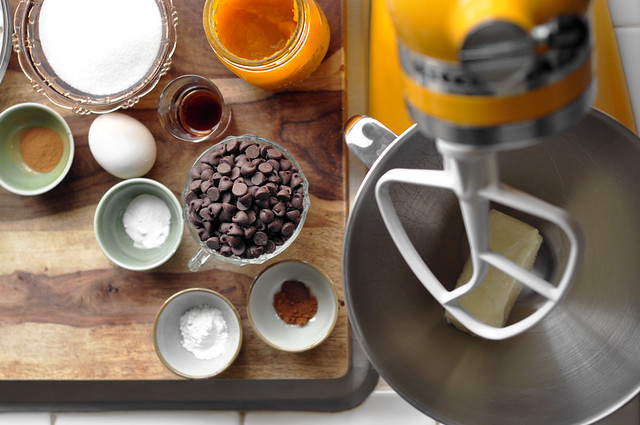
To the butter, add the granulated sugar.
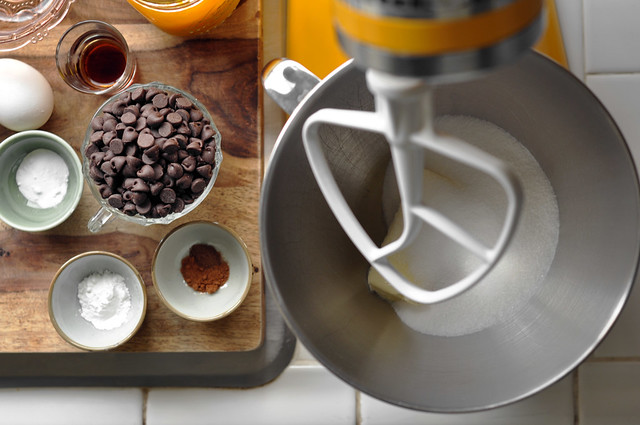
Turn the mixer on and allow the butter and sugar to cream together.
Don’t do what I usually always do, which is turn the mixer on high right away causing all the sugar and butter to fly out the bowl.
Learn from my mistakes, folks. Start it slow and then raise the speed gradually.
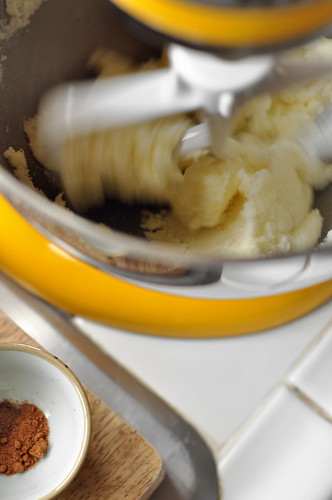
Here’s a closer look at the creaming process, just in case you can’t see through my yellow school bus mixer.

Throw the egg into the butter and sugar.
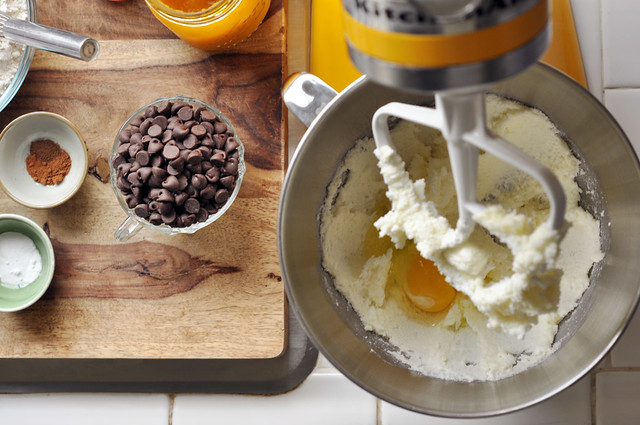
Give it a mix. Make sure the egg gets well incorporated.
And now add the vanilla extract.
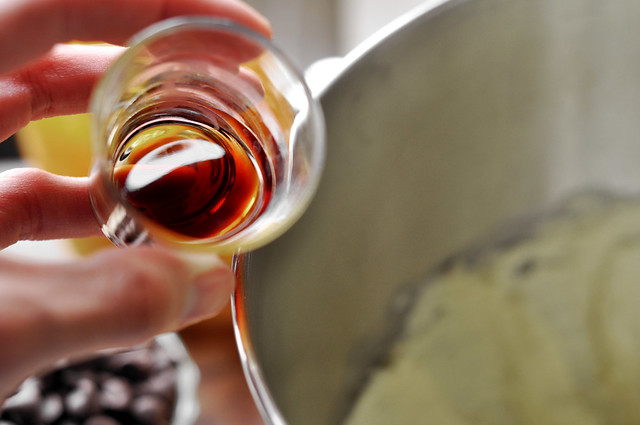
Stir once more.
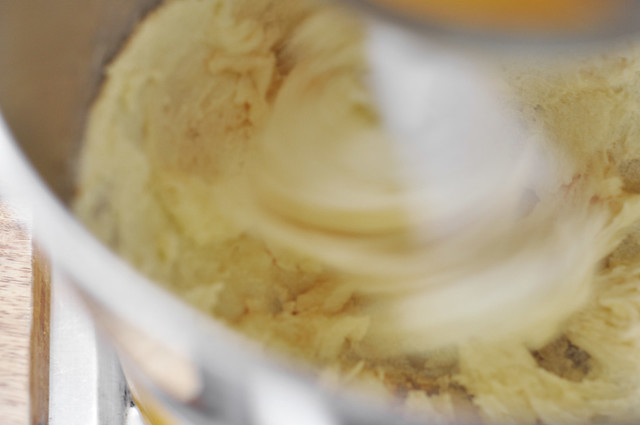
It’s now time for the star ingredient. The main attraction.
The pumpkin purée.
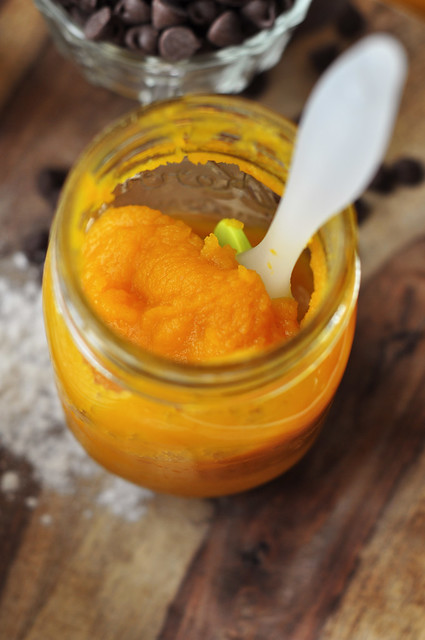
So if you’ve been following the blog over the last couple of posts, you’ll already know my fresh pumpkin purée spiel but I must say it again.
It’s so easy and a lot tastier to make your own pumpkin purée and if you don’t know how, here’s a tutorial on how to make it yourself Homemade Pumpkin Purée. It’s super easy.
If you don’t have the time or access to fresh pie pumpkins, you can definitely use canned pumpkin, I gueeeeesssss.
Add the pumpkin to the rest of the “wet” ingredients.
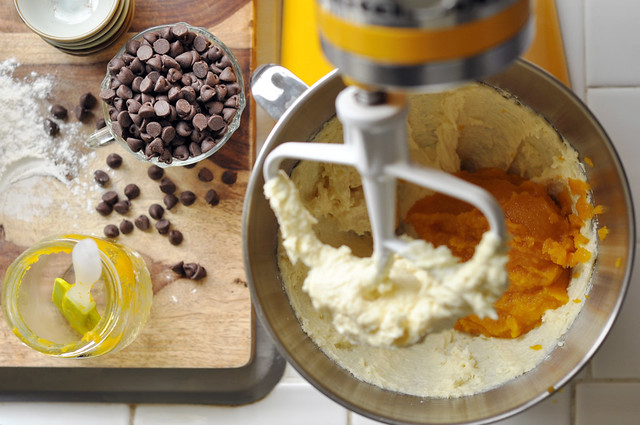
Blend together until it gets well incorporated.

**Note: After you mix in the pumpkin purée, do not be alarmed. I know what you must be thinking, “I did something wrong because it looks curdled.” But rest assured you did nothing wrong. In fact, you did everything right. The mixture will look curdled, and that’s okay. It’s normal.**
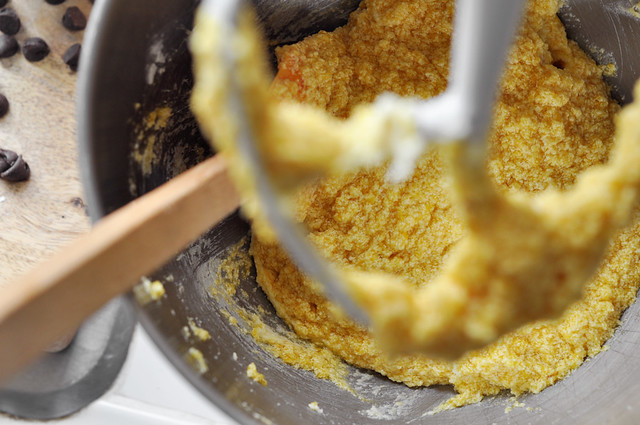
See? Even my mixture looks curdled.
It’s just like when you make banana bread, and you add the mashed up bananas to the batter. Same thing.
Let’s walk away from this for a second, and combine the dry ingredients.
Since this is a seasonal cookie, we need some seasonal spices.
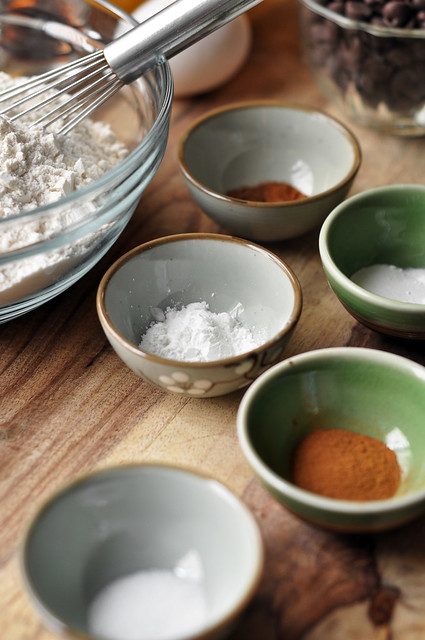
The dry ingredients start with all-purpose flour.

To the flour add:
Salt.
Baking Powder.
Baking Soda.
Cinnamon.
Nutmeg and allspice.

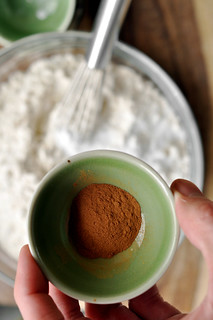
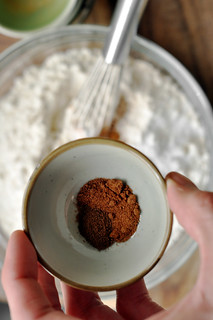
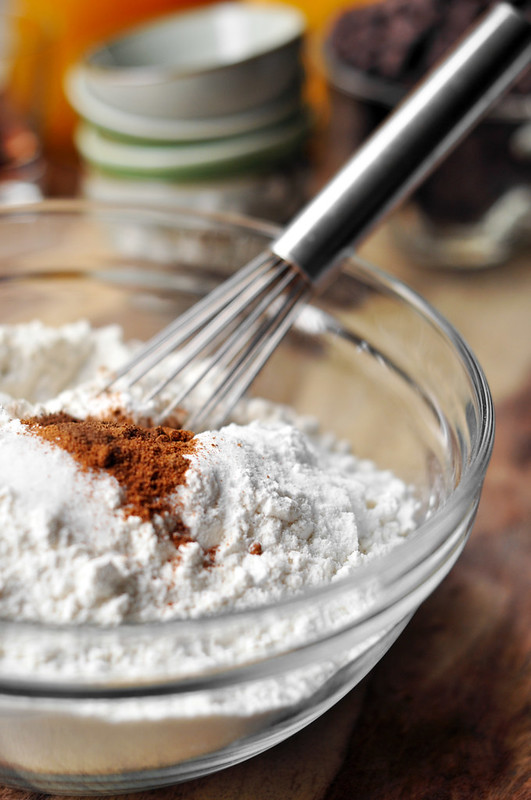
Give the dry ingredients a good whisk.
Of course you all know by know that this whisking of the dry ingredients step is my lazy way of “sifting.”
Sometimes I sift and sometimes I don’t. It just depends on how I feel that day. Today (like most days) I didn’t feel like sifting.
Let’s be lazy together and just whisk the ingredients. This is, after all, supposed to be a worry-free holiday recipe. So let’s just be nonchalant about it.
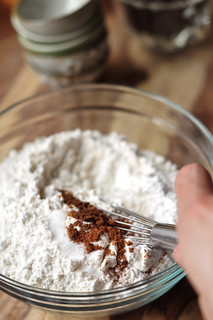
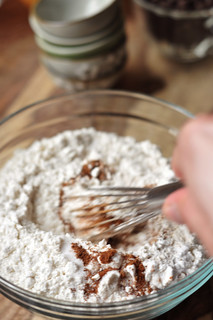
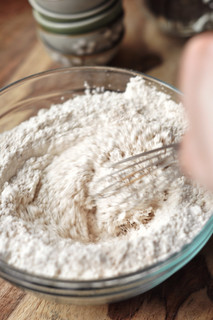
And just like that, 1-2-3, you’re done mixing the dry ingredients.

Time to add them to the “wet” mixture.
So that you don’t end up with a bigger mess and have flour splash around all over your counters, I think it’s best to add the dry ingredients in three batches.
Mix just until it is incorporated, after each addition. Do not over mix.
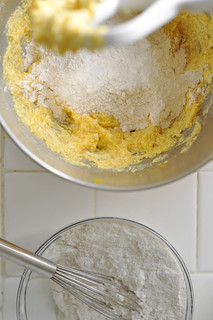

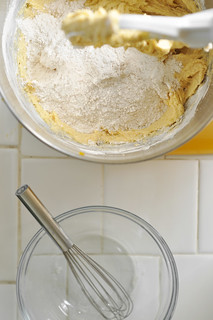
Once all the dry ingredients are mixed into the batter, it will look like this.
It will be a lot stickier than other cookie doughs.
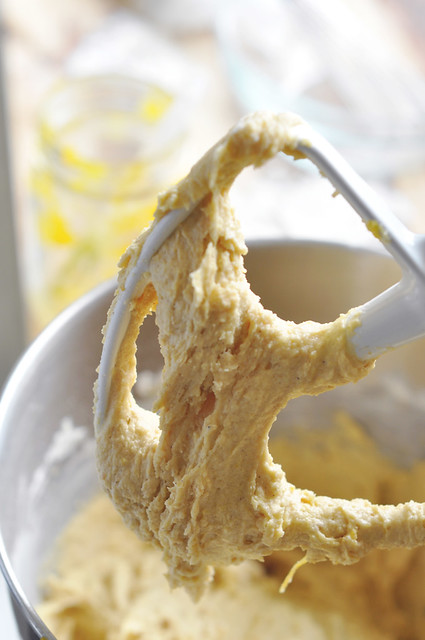
What’s that? You would like another view? Well sure, of course, your wish is my command.
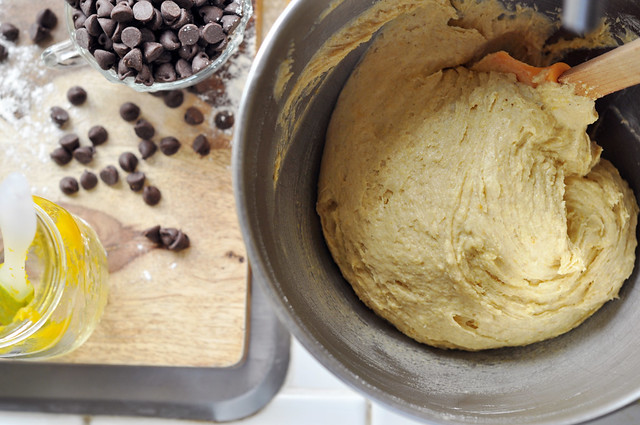
Add the chocolate chips.
I don’t like when I’m given a chocolate chip cookie and I have to go on a scavenger hunt to find said chocolate chips, so I like to add a lot of these precious gems in my batter. That way you can not only see them but taste them as well.

**Tip: I fold in the chocolate chips for two reasons really. One because I do not want to over mix my dough, causing my cookies to come out dry and dense, and two because I do not like when the mixer breaks down the chocolate chips.**
So folding is your best bet.
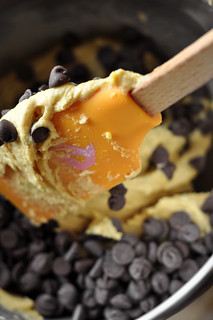
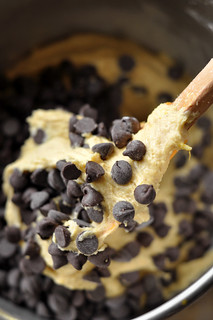
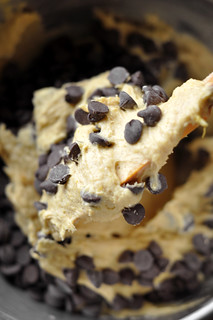
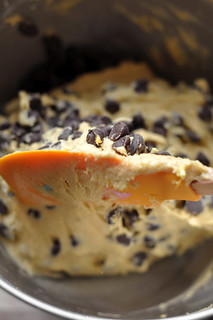
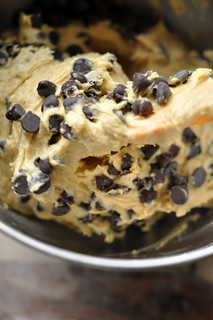
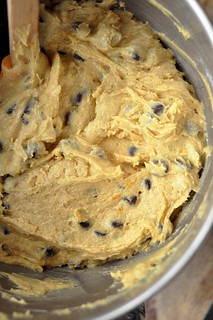
That. Is. It.
Isn’t this the simplest recipe ever? A quick holiday cookie that will make you look like a super hero. I guarantee you.
You can write your thank you’s to thankyou@candidappetite.com. But really don’t because that’s not a real e-mail address.
Now that the cookie dough is done, it is time to bake them. That’s right, we still have to bake them. You have to wait a little longer before you get to eat one. Sorry.
**Tip: Use an ice cream scoop to portion out the cookie mounds onto the baking sheets. I use a small scoop for cookies, that way they are all the same size and cook at the same time. I use a medium scoop for such things like cupcakes and muffins.**
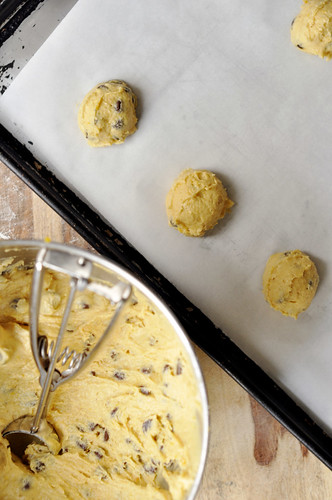
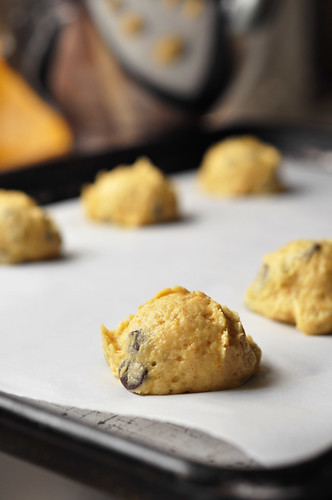
For some reason, with these cookies, I like them perfectly shaped. I want them to be smooth medallions of cookie perfection. So what I do is wet me fingers a little and slightly—I do mean slightly—flatten them out a bit and smooth out any creases and bumps.
It’s important to wet your fingers so that the cookie doesn’t stick to them.
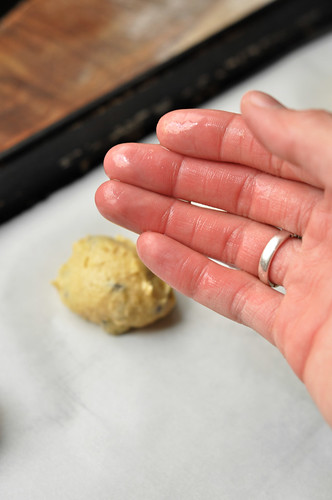
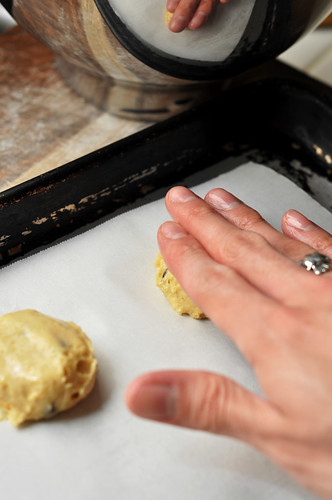
So we do not want to flatten them out like pancakes, just making them even.
However, this step is completely optional, you don’t have to do it.
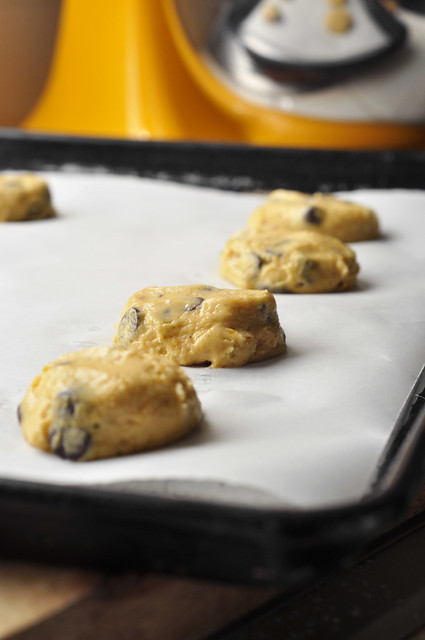
Okay, now these are ready to hit the oven.
They are ready to get baked.
Ready to be transformed into golden brown cookies of delight.
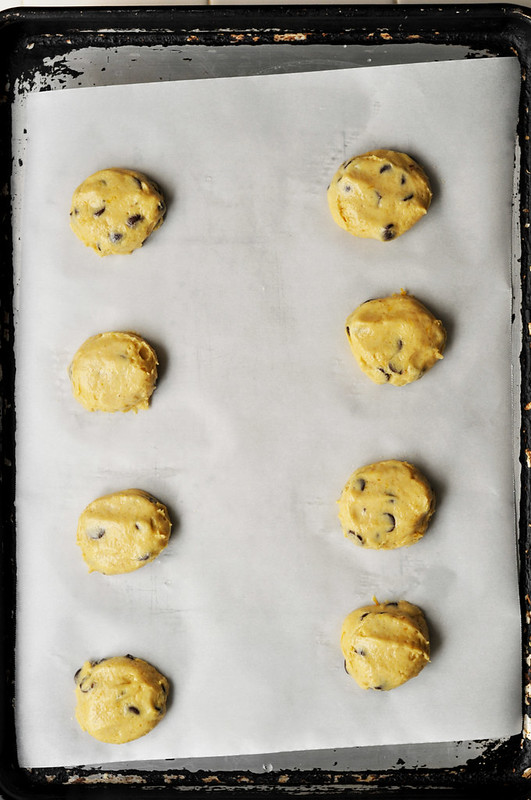
These cookies bake rather quickly. But I guess all cookies do huh? They bake for about 10-12 minutes.
And lucky for us, through the magic of the internets, poof, they are done.
That took no time at all!
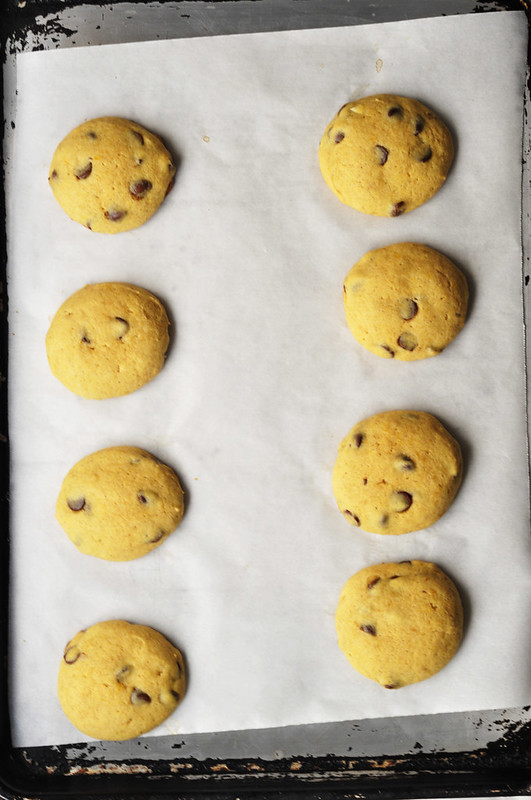
These pumpkin chocolate chip cookies are more cake-like, and fluffy than other cookies. They will be puffy and moist.
Allow them to cool slightly on the baking sheet.
After a few minutes, transfer the cookies to a rack and allow them to cool completely before storing.
Or you can eat them at this point, warm .

What did I tell you? Did I not promise you a super duper easy recipe for the holidays? You can make these in two seconds.
Okay, I exaggerate. Probably not two seconds, but you can make them really fast. Like in half an hour.
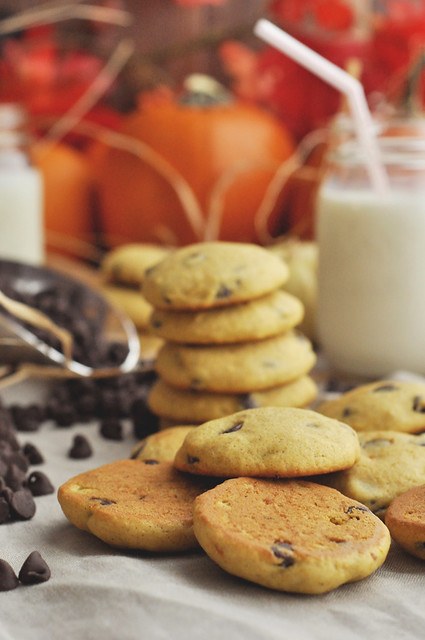
If you are running around like a crazy person on the day of Thanksgiving still looking for something to make? Well make these pumpkin chocolate chip cookies. They’re a perfect treat for all the kiddies. The pumpkin makes the cookies super moist and they’re a real crowd pleaser.
I’m trying very hard to convince you to make them, but something tells me the recipe itself will convince you. Pumpkin, cinnamon and chocolate. Need I say more?
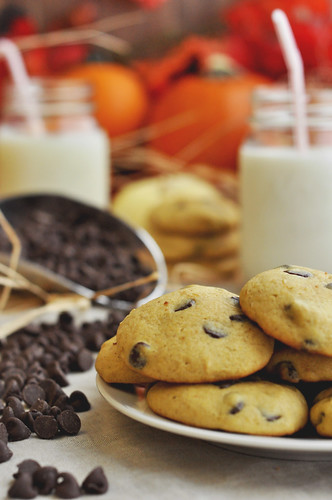
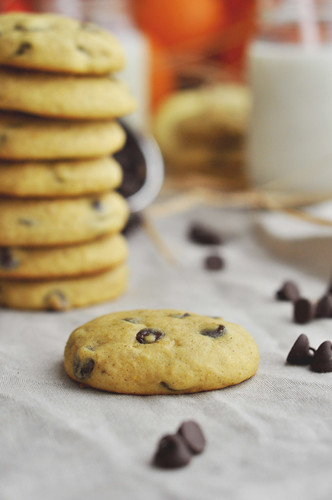
This also concludes our November pumpkin post theme.
I’m sure you, like me, will be happy to make and see something that doesn’t involve pumpkin for a while.
It was fun to think and put together pumpkin recipes, and I hope you all enjoyed them. I also hope you managed to try one if not all three.
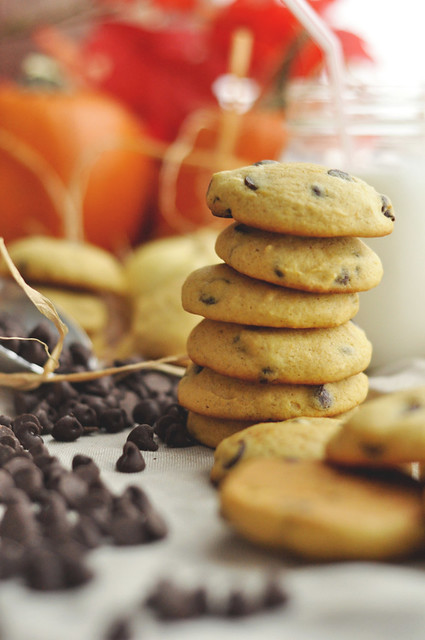
Lucky for us they are here, posted on the internets for you, for whenever you want to make something pumpkin-y. But if you are sick and tired of this squash and never want to see it again until next year, like me, well then you’ll be happy to know that December’s posts will not be centered around this orange gourd.
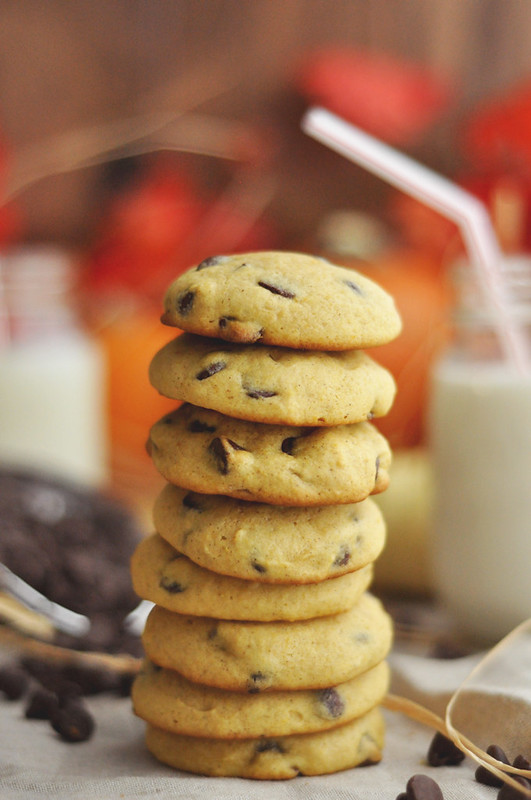
Happy Thanksgiving.
[print_this]
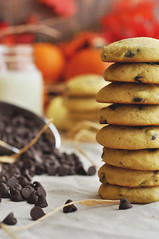
Pumpkin Chocolate Chip Cookies
These cookies can be made with canned pumpkin, but are even better if you make your own purée especially when pumpkins are available at your grocery store. They are a perfect treat for Thanksgiving and a nice change from your normal everyday chocolate chip cookie, but don’t get me wrong, those are good too!
Yield: 5 dozen cookies
Ingredients:
- 1 cup butter, softened at room temperature
- 2 cups granulated sugar
- 2 eggs, at room temperature
- 2 teaspoons vanilla extract
- 1 1/2 cups homemade pumpkin purée, or 1 (15 oz) can pumpkin purée
- 4 cups all-purpose flour
- 1 1/2 teaspoons baking soda
- 1 1/2 teaspoons baking powder
- 1 teaspoon salt
- 1 teaspoon cinnamon
- 1/2 teaspoon nutmeg
- 1/4 teaspoon allspice
- 2 cups semi-sweet chocolate chips
- 1 cup chopped walnuts (optional)
Preparation:
1. Preheat oven to 350° and line two baking sheets with parchment paper, set aside.
2. In the bowl of a stand mixer, or a large bowl if making by hand, cream together the softened butter and granulated sugar. Beat on high for about 5 minutes, until smooth, light, and fluffy.
3. Add the eggs, one at a time, mixing well after each addition. Stir in the vanilla extract and the pumpkin purée. The mixture will appear to be curdled once the pumpkin has been added, but that is normal. Just blend together.
4. In a medium bowl combine (or sift together) the dry ingredients. Combine the flour, baking soda, baking powder, salt, cinnamon, nutmeg, and allspice. Add it to the pumpkin mixture in three batches mixing just until incorporated after each addition. Fold in the chocolate chips, making sure to scrape down the sides and bottom of the bowl well. Mix in the walnuts, if using. With a small ice cream scoop or a tablespoon, drop the cookies in even mounds onto the prepared baking sheets.
5. Bake for about 10 to 12 minutes, rotating the pans halfway through baking to ensure even browning. Bake until the edges begin to brown. Remove from the oven and allow the cookies to cool for a few minutes on the baking sheets before removing to a wire rack to cool completely. Store in an airtight container at room temperature for up to one week. Enjoy!
[/print_this]

These cookies are so fun! Your photos always amaze me. Great recipe!
Thank you very much! This means a lot to me!
What an amazing recipe !! I like the way you narrate the whole thing.Great photographs too 🙂 Im gonna try this out right now !! Great post.Keep up the good work 🙂
Thank you so much for reading! I’m so happy you enjoy the blog! I hope you try these soon! Let me know how you like them! 🙂
Made these for a party yesterday. I kinda ran out of flour, so I subbed 1 cup of all purpose flour for 1 cup of wheat flour. Dunno if it was the flour, but my cookies really didn’t spread at all when I baked them, so I started flattening the dough. They looked much better after that. At the party I came in, put the box on the table, walked away for a few minutes, came back and these suckers were GONE. Everyone really REALLY liked them. Which is mildly ironic to me because personally I didn’t really like these cookies. They’re a bit too cake-y for me.
Had a little bit of extra dough left over so I decided to experiment. You know those “cookie cups” that have been on Pintrest for a while? I tried doing that. The dough held up well and the cups turned out pretty great. Hooray!
Thank you for trying out the recipe! I’m so happy that they were a hit at the party. I’m sorry you didn’t enjoy them however. These are definitely more soft cake-y cookies than any other! I hope you try another recipe soon!
Your photos always look AMAZING! And well I love all things pumpkin flavored so I definitely have to try these!
Thank you very much!!! Yes try these out and let me know what you think!
I love this post! Tons of pics, VERY step by step and just plain easy! Most online tutorials kinda suck but this one made me actually want to make the cookies. Come Oct 1 when fall season officially starts (in my head) these will be in my oven and ready to eat! Thanks!